Spotlight’s guide to taking the perfect photograph of your child performer!
Casting professionals want a clear representation of what your child looks like… [displaying] your child’s unique personality.
Photos are one of the most important features on your child’s Spotlight profile. A photo is worth a thousand words, and in this case, it’s telling casting professionals what your child looks like, how old they are, what ages they can play, what their hair and eye colour is, what role types they can fill, and much more – all before they’ve even visited their CV!
But children can change a lot, and if you want to keep their photos current you could end up spending a lot of money on professional photo shoots every few months. Whilst we would always encourage using a professional photographer where possible, an alternative would be to take your own photos. Just because you’re not having photos taken by an experienced photographer in a studio doesn’t mean the photos shouldn’t be ‘professional’ in other ways.
Some things to keep in mind…
- Casting professionals want a clear representation of what your child looks like, presented as a well-framed, good quality headshot which will catch their eye and display your child’s unique personality.
- Photos that may be perfect for social media – such as holiday photos, pictures of your child with their friends or pets or celebrities, shots of them wearing fancy dress costumes, eating in restaurants, etc. – are unlikely to impress casting professionals, and should be avoided if possible. After all, their Spotlight profile is a professional CV meant to get them work!
- A casting professional’s first impression of your child will come from their Main Photo, which will ideally be a headshot. When the casting professional sees your child for the first time, their headshot will be in a grid with dozens of other photos, all shrunk down to fit on a device screen. So, if your child’s photo is blurry, low quality, too dark, too bright, or taken from too far away, its chances of drawing a casting professional’s attention will be low.
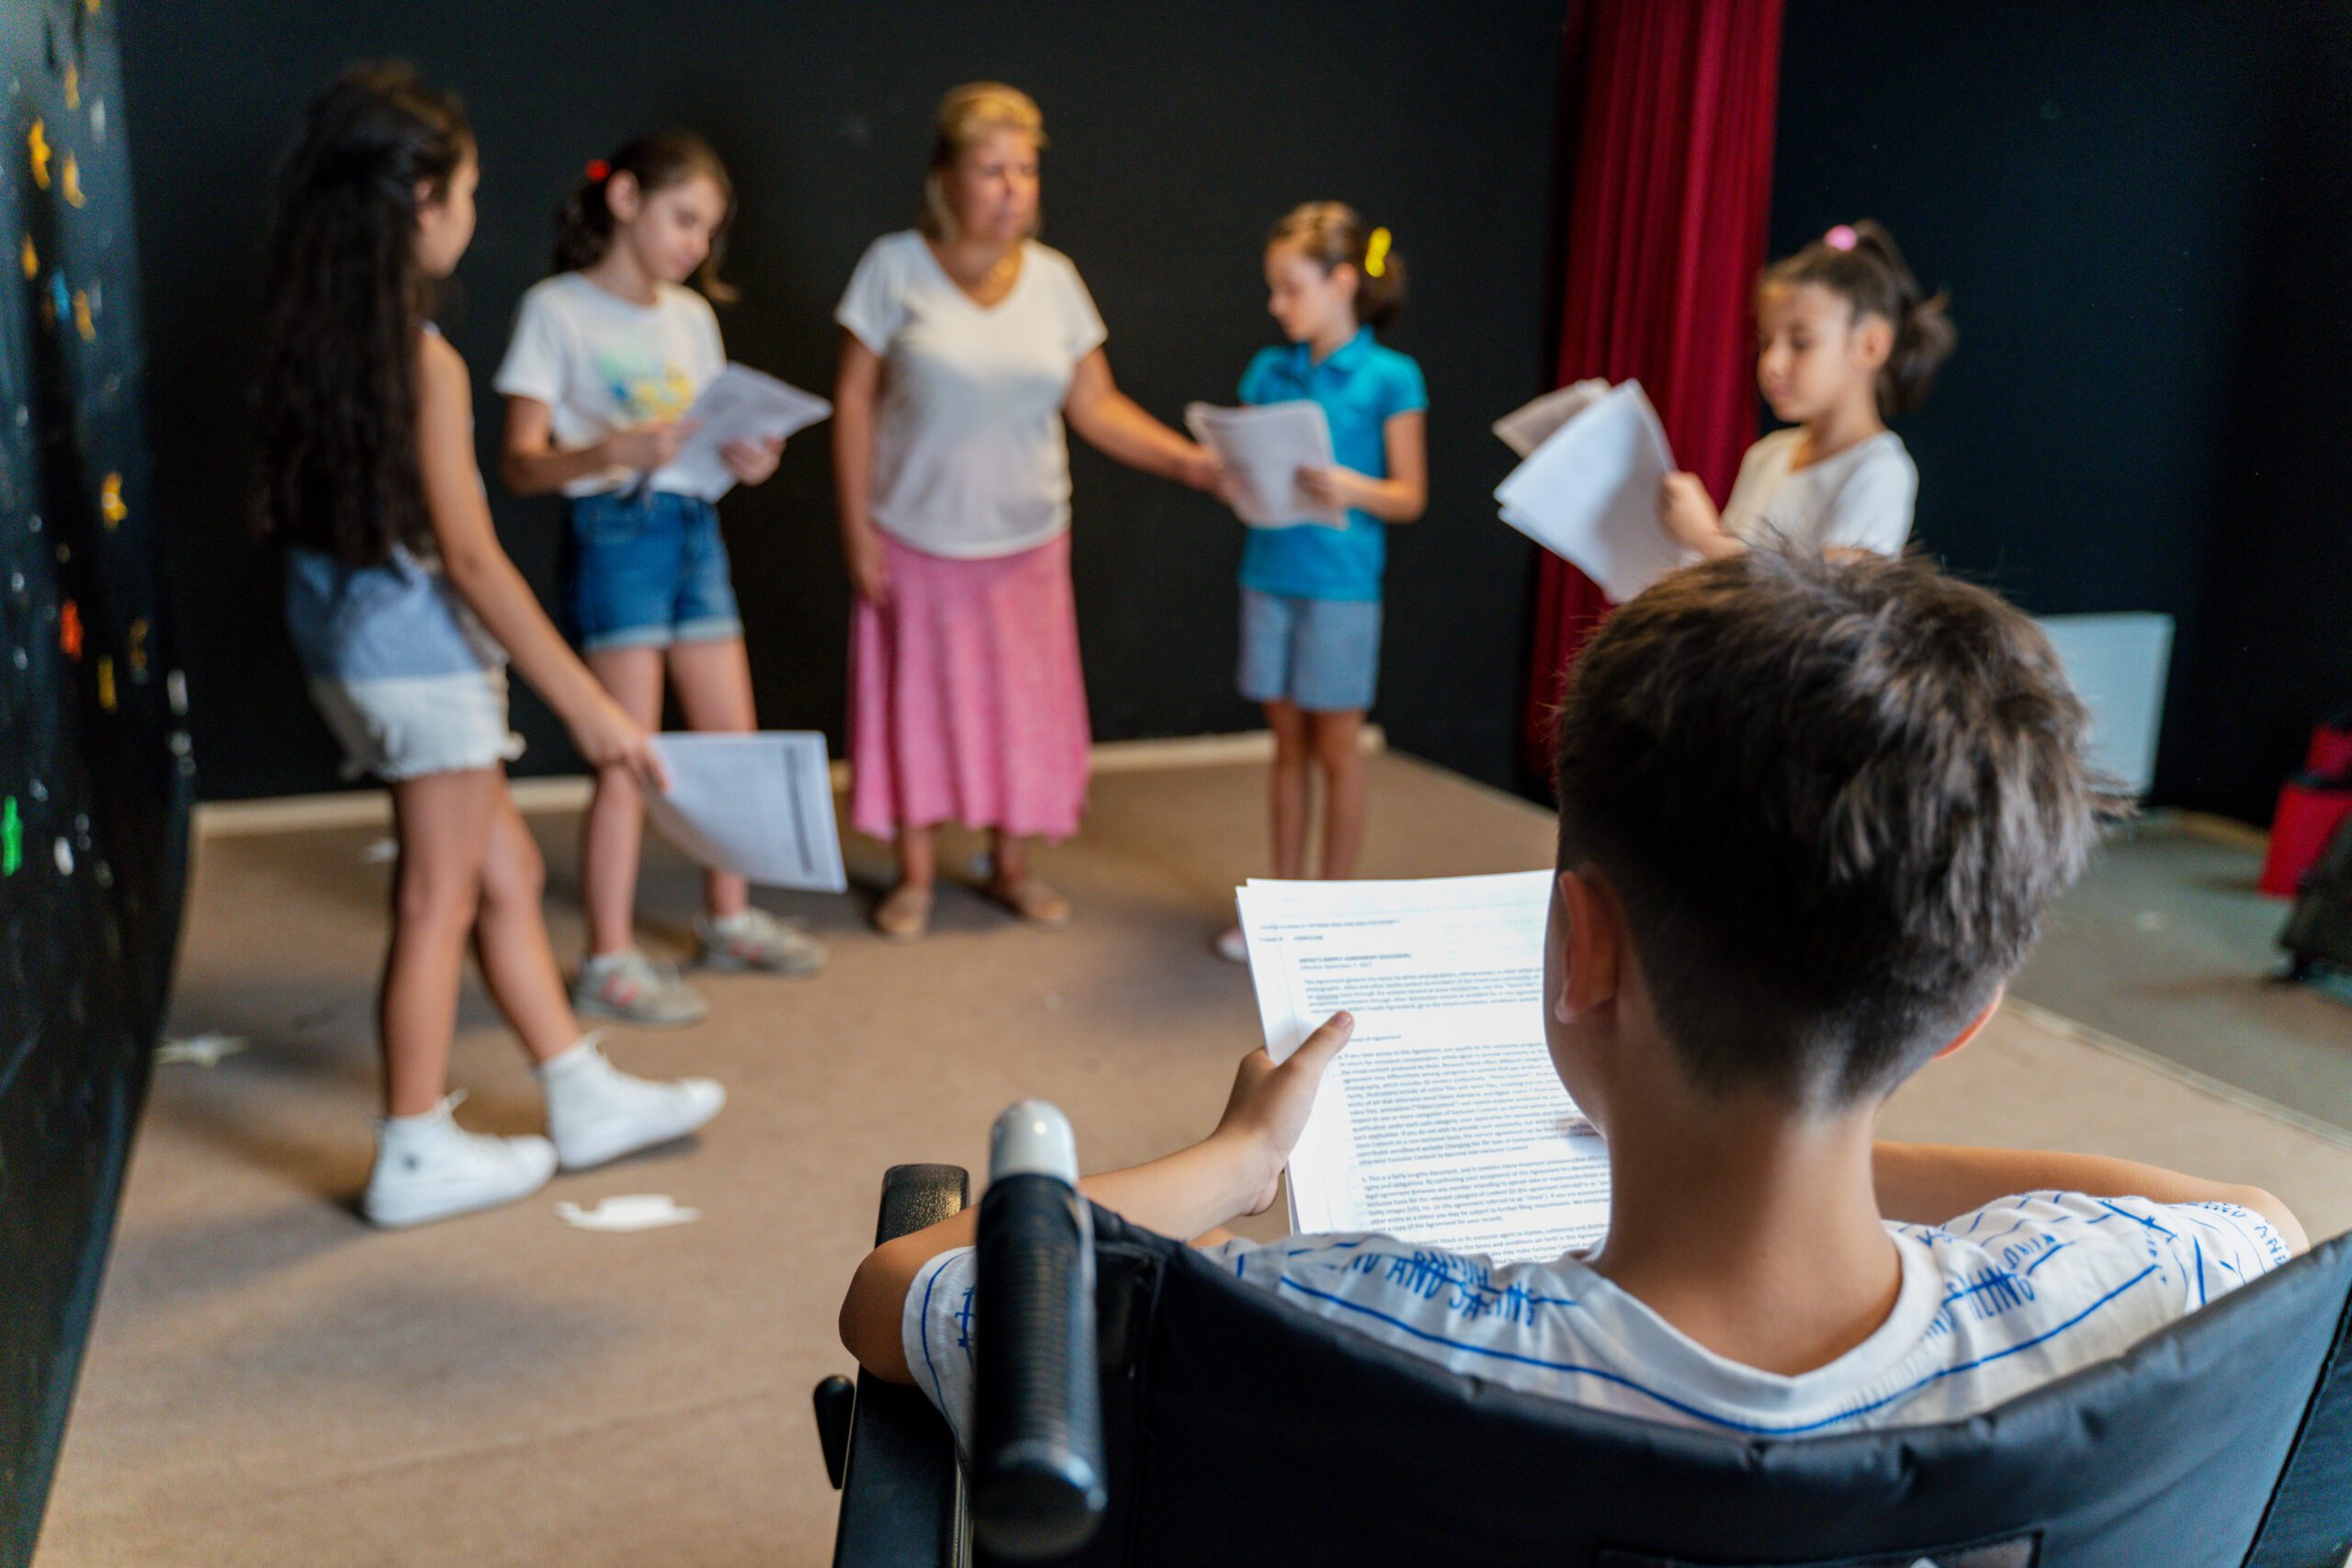
As your child’s photographer, you will have a lot of choices to make when it comes to taking their photos. We have separated the process into 3 stages: before, during and after taking the photo, with advice to consider at each stage.
Before
Location
Use colourful locations to your advantage, whether it’s a bright blue wall in your house, or the beds of flowers in your garden. Colours draw the eye and can complement your child’s natural colouring. Be careful not to go somewhere too distracting. A casting professional’s attention won’t be on your child’s face if there’s a neon sign or production poster behind them. Resist the temptation to showcase scenery or landmarks. They take up space that your child could be occupying. A nice neutral brick wall or cement wall also provides a good unfussy background.
Clothing
Avoid tops with logos and brand names, and keep it casual. You want your child to be comfortable, and their smile to be genuine. Once again, use colour to your advantage. If your child has green eyes or blonde hair, for example, dressing them in the right colours can really make these features eye-catching. Avoid fancy dress costumes outside of the context of a credited production.
Props
Avoid using props such as hats and sunglasses. They will divert attention away from your child’s face. If your child regularly wears reading glasses then do include them in the photo, especially if they are likely to wear them to a casting.
Expressions
Your child can smile in their photos. It is also useful to have a few photos showing alternative expressions as well – but nothing too dramatic or silly! Smiling will make your child seem younger, happier, and more energetic – all good traits for commercials. Something more serious might suit modelling work. Be careful not to limit your child’s roles by only portraying them in certain moods.
Other People
Casting professionals are unlikely to be interested in seeing family friends, or your child posing with celebrities (even if they were co-stars). Avoid taking photos in busy locations, as this will likely result in other people being in the background.
During
Framing
When taking a headshot, you should aim to have the top of the photo just above your child’s head, and for their eyes to be roughly one third of the photo from the top. Ensure they are central in the image, and that the space between the top of their head and the corner of the photo is roughly even on both sides.
Distance
Try not to zoom-in when taking the photo – it’s better to just get closer to frame the image. Zooming in reduces the quality of the photo and makes focusing harder. If the photo is taken from too far away, casting professionals may be unable to see your child’s features clearly. Too close, and the photo may not be in focus.
Focus
Your child should always be the focus of the photo, especially their eyes. Ensure that their eyes are clear in the photo before taking it. If your child is out of focus or blurred in your photo, then take another one. You want their features to be clearly visible to casting professionals. It is sometimes effective to have the background just slightly out-of-focus, as this will soften sharp colours and divert attention to your child.
Lighting
Natural lighting is recommended when taking photos. Make sure the source of light is not behind your child, as their face will appear in darkness. Too-bright lighting can saturate your photo, resulting in faded colours and blank patches of white. A photo that is too dark will prevent your child’s features (particularly their eyes) from being clearly visible.
After
Cropping
Cropping excess space off your photos will help centre attention on your child. Cutting out unnecessary objects or background features will prevent them from being distractions. If you decide to crop another person out of a photo, ensure that you can do so without cropping out too much of your child or leaving floating limbs in the image. Try not to crop your photos into a strange shape. Photos should preferably have a proportional size of 10 x 8.
Photoshopping
Photoshop and similar programs should only be used to crop, remove red eye, and very occasionally to adjust the brightness and sharpness of the photo. Refrain from using Photoshop to remove blemishes from your child’s face or to alter their colouring. Your child needs to look like their photo.
Extras
Avoid adding effects, borders, text, or graphics (such as hearts and stars) to your photos. They are distracting and unnecessary.
Quality
Photos cannot be uploaded to your child’s profile unless they at least 500 x 500 pixels in size and have a dpi (dots per inch) of 72. However, higher quality than this is always preferable if it can be achieved. Expanding the size of your photo without increasing the dpi will result in reduced quality and, in severe cases, pixellation.
Agent
If you’re ever in doubt about whether a photo is suitable for your child’s profile, don’t forget that you can contact their agent and ask for advice. It’s always best to have a chat first, before you upload any new photos that change the way your child comes across!
Most importantly: have fun! This should be an enjoyable experience for you and your child, and if your child is genuinely excited to be the star of their own photo shoot, this will show in their photos. Try different approaches, find one that works for you both, and take as many photos as you need to get the perfect headshot.
If you need any other help then feel free to contact us through Twitter or email us at questions@spotlight.com!