Master professional self-taping with our essential guide to lighting, sound, camera setup and submission tips.
Whether you’re a beginner or a seasoned pro, this guide provides a comprehensive walkthrough for creating high-quality self-tapes from home. You’ll learn:
- Essential Gear: How to choose between DSLRs, digital cameras or simply using your smartphone.
- Professional Staging: Expert advice on achieving “soft” lighting, minimising background noise and choosing the best backdrop colours.
- Technical Setup: Framing your shot correctly (the “mid-close”) and setting an effective eyeline.
- Submission Success: Step-by-step instructions on converting files, naming your clips and using the right platforms to send your work to casting directors.
- Performance Tips: Advice on working with readers, managing takes and staying calm under pressure.
What do I need to film my self-tape at home?
You’ll need:
- A video camera
- A computer with an internet connection
- A light source
Choosing a video camera
Nothing fancy is needed, but choose a recognisable brand, such as Canon, Sony, Apple etc. You could also use a DSLR if you have one.
The format needs to be MP4 ideally, though AVCHD is also okay. Aim to spend around £150-£250 on a Canon Legria HF R506, if you’re looking to invest in this equipment. If you’re an actor who puts themselves on tape a lot this would be worth it.
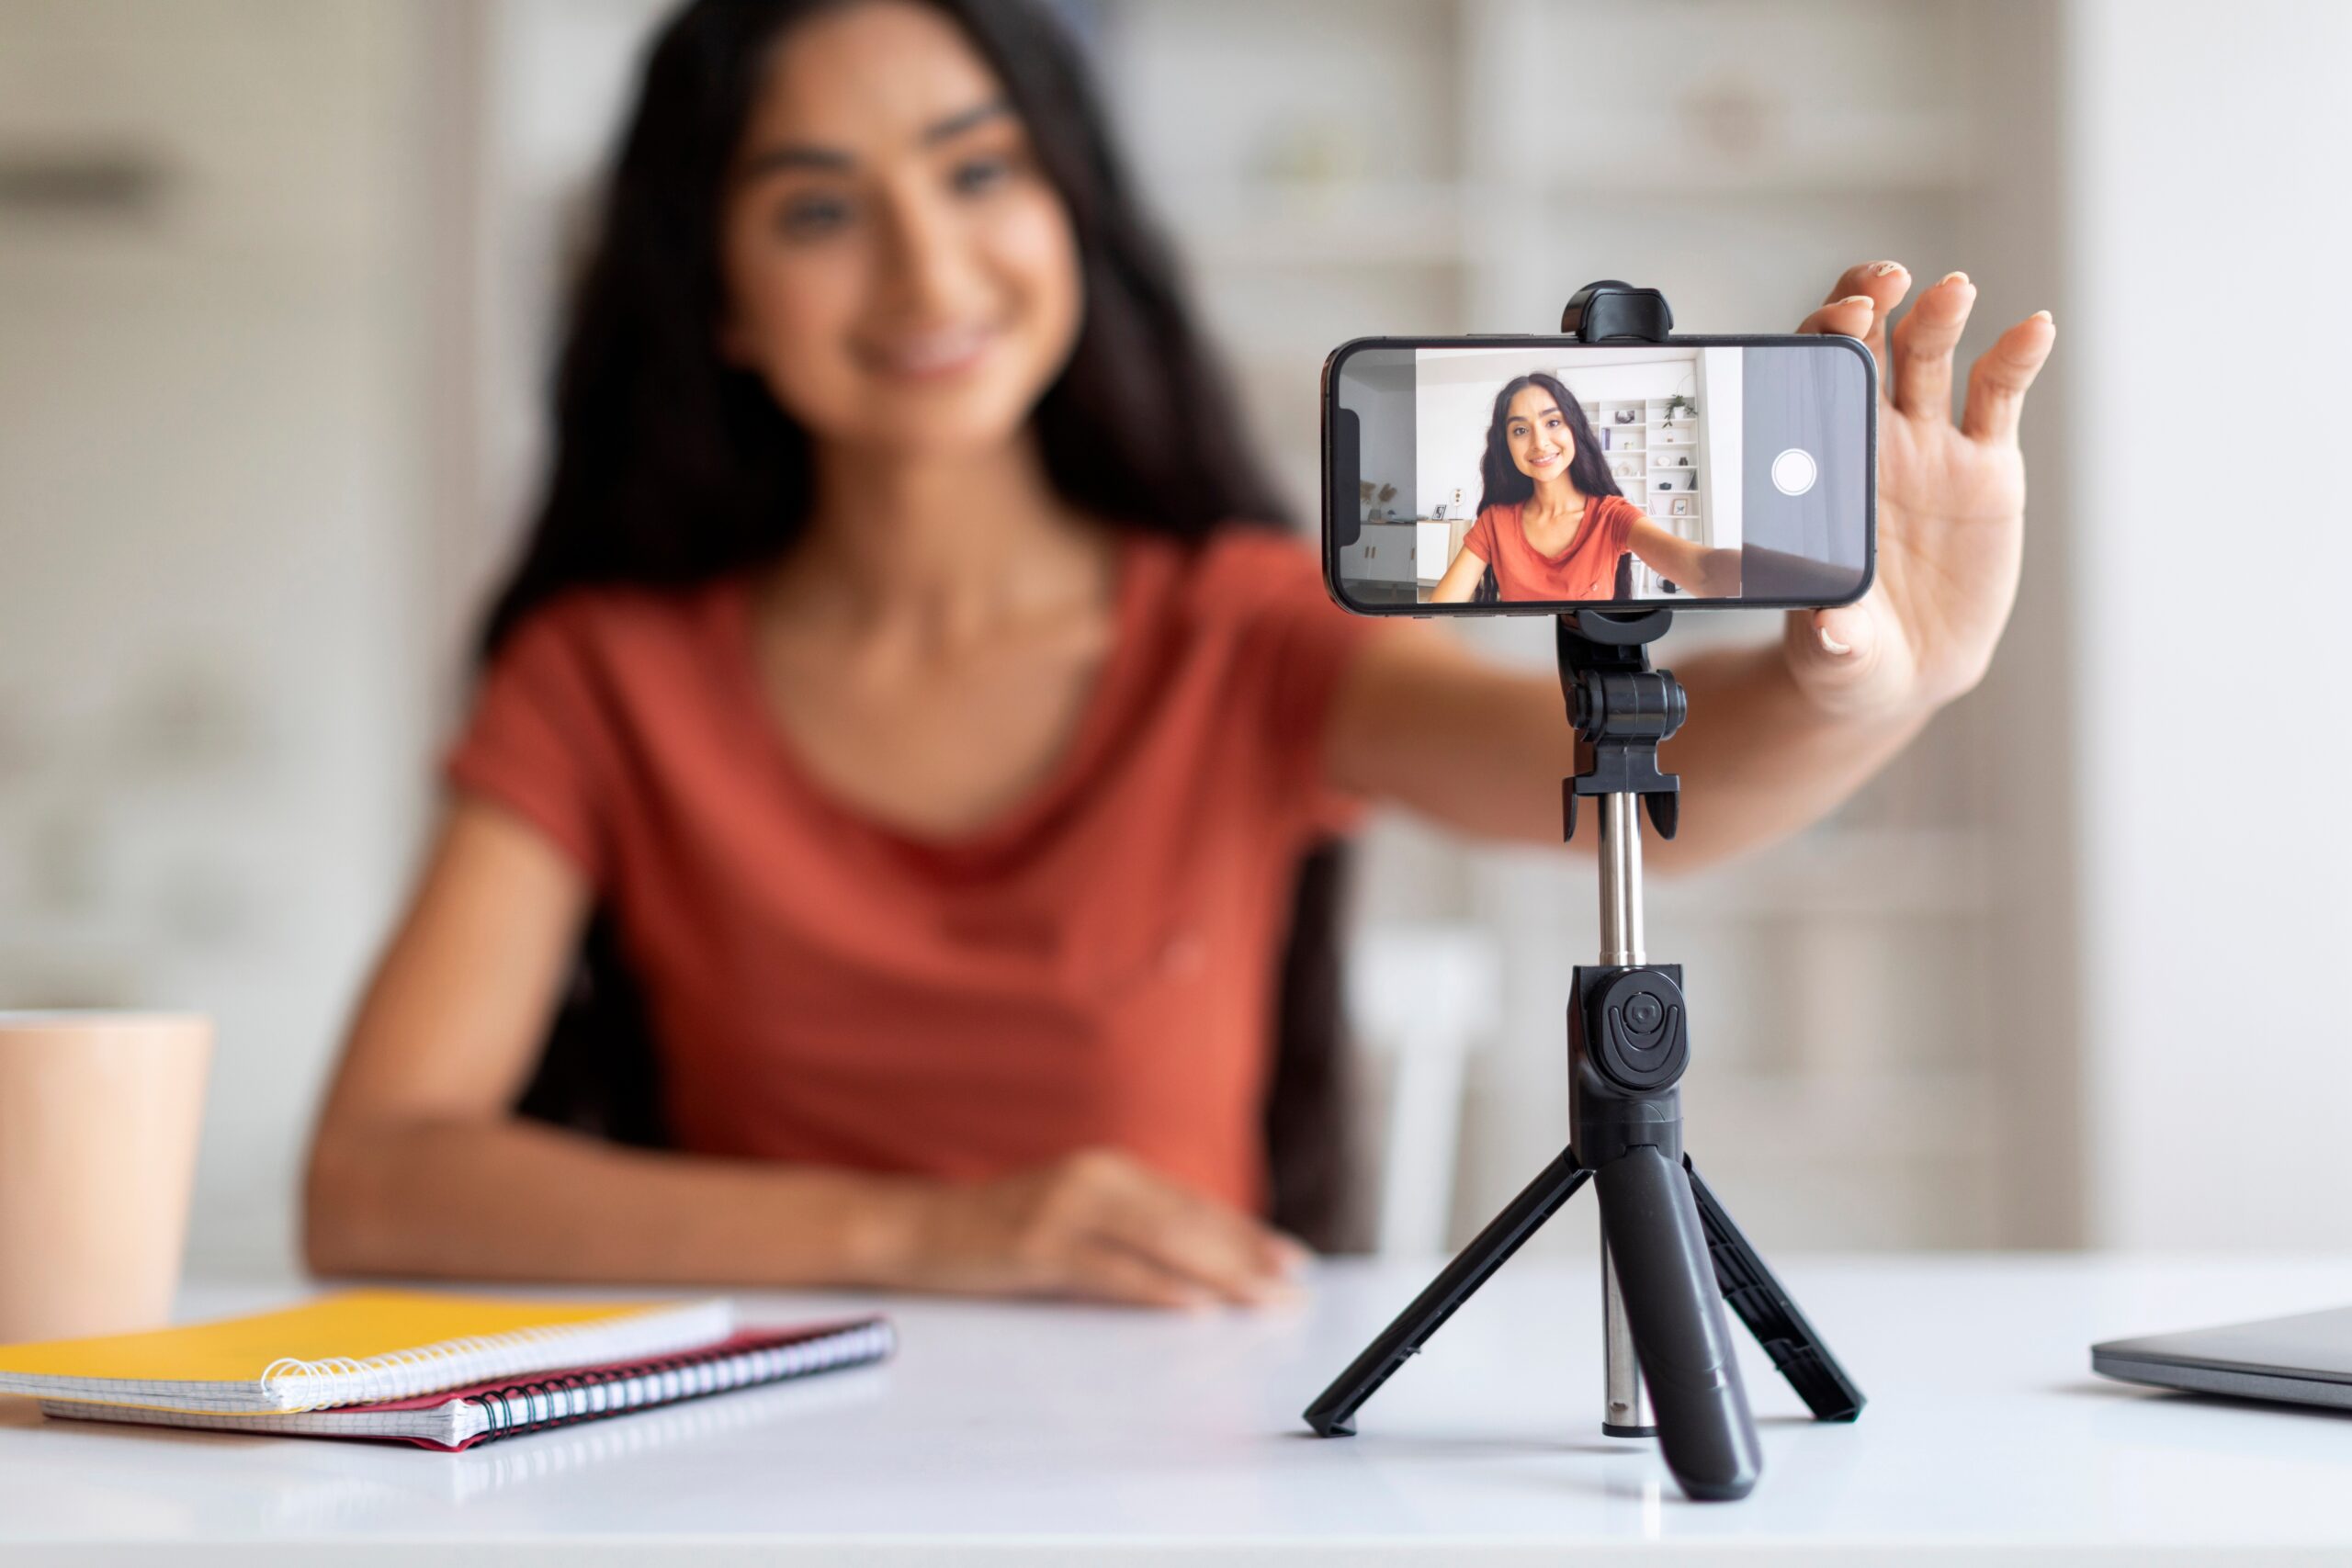
Filming on a phone
If you’re in a hurry and don’t often need to self-tape, you can also film your self-tape on your phone. To get the best sound, sit as close to the phone as possible and be sure to film in landscape, not portrait!
You can send the clip to the casting director via the WeTransfer app on iPhone and via the Vimeo app on Android.
Lighting
To light yourself properly, use natural light if you can to get the best results but you can also use soft practical lights in your house. Soft lighting is the best choice for a taped audition, and you should choose from a large source which casts soft, diffused shadows. Hard light from a small light source would cast a sharp shadow and it literally won’t show you in your best light.
if you need an artificial light, we would recommend a CN 160 LED light. We have an article dedicated to more tips about lighting and sound for self-tapes if you’d like to know more.
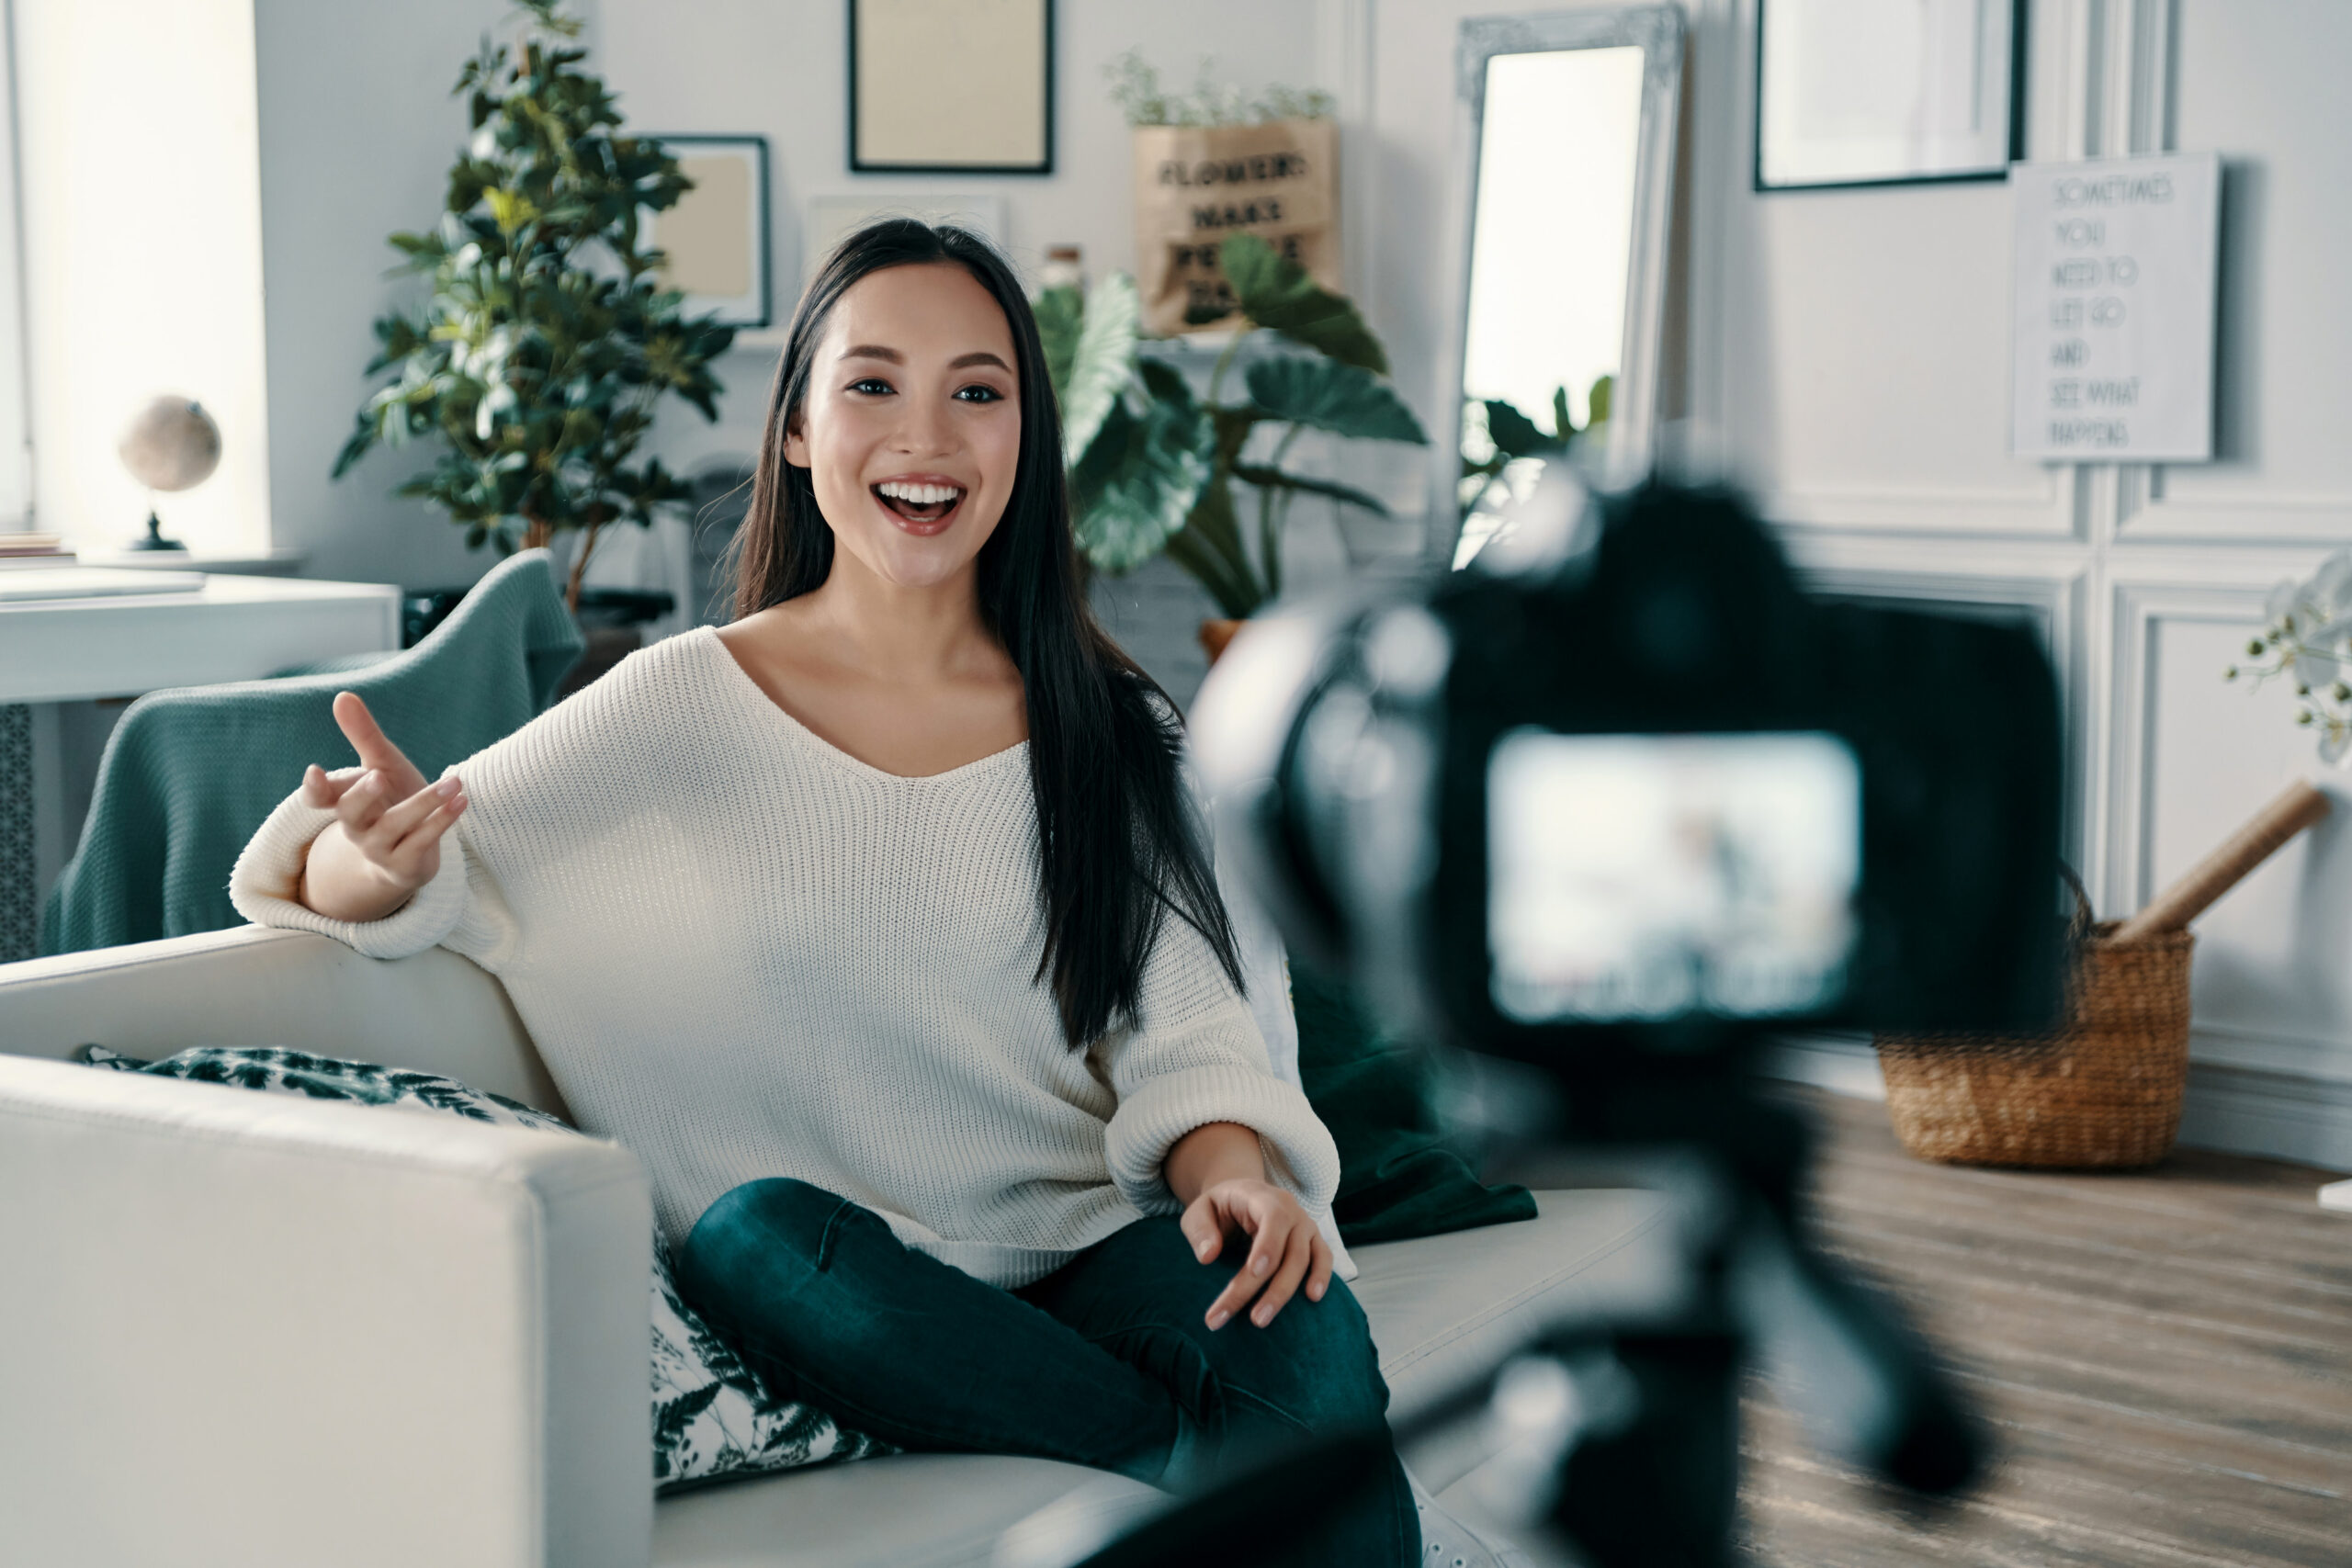
Setting up for a self-tape
Setting up the room
Ensure that background noise is kept to a minimum and that the camera is at your eye-level. Your light source should be in front of you and not in the shot – don’t sit with a window behind you as it can put you in shadow.
Try to find a plain background to film against – we find that grey works best and you could use a bedsheet hung on the wall if you don’t want to paint your walls.
Before you start filming
Learn your lines and rehearse. Read any instructions that you may have been sent, thoroughly and check if you need to film an ident for your self-tape. Get a friend or fellow actor to read in the other lines if necessary.
Props and costume
Make sure your clothing is appropriate for the character although it’s not necessary to rent a costume. Only use props that are essential to the performance.
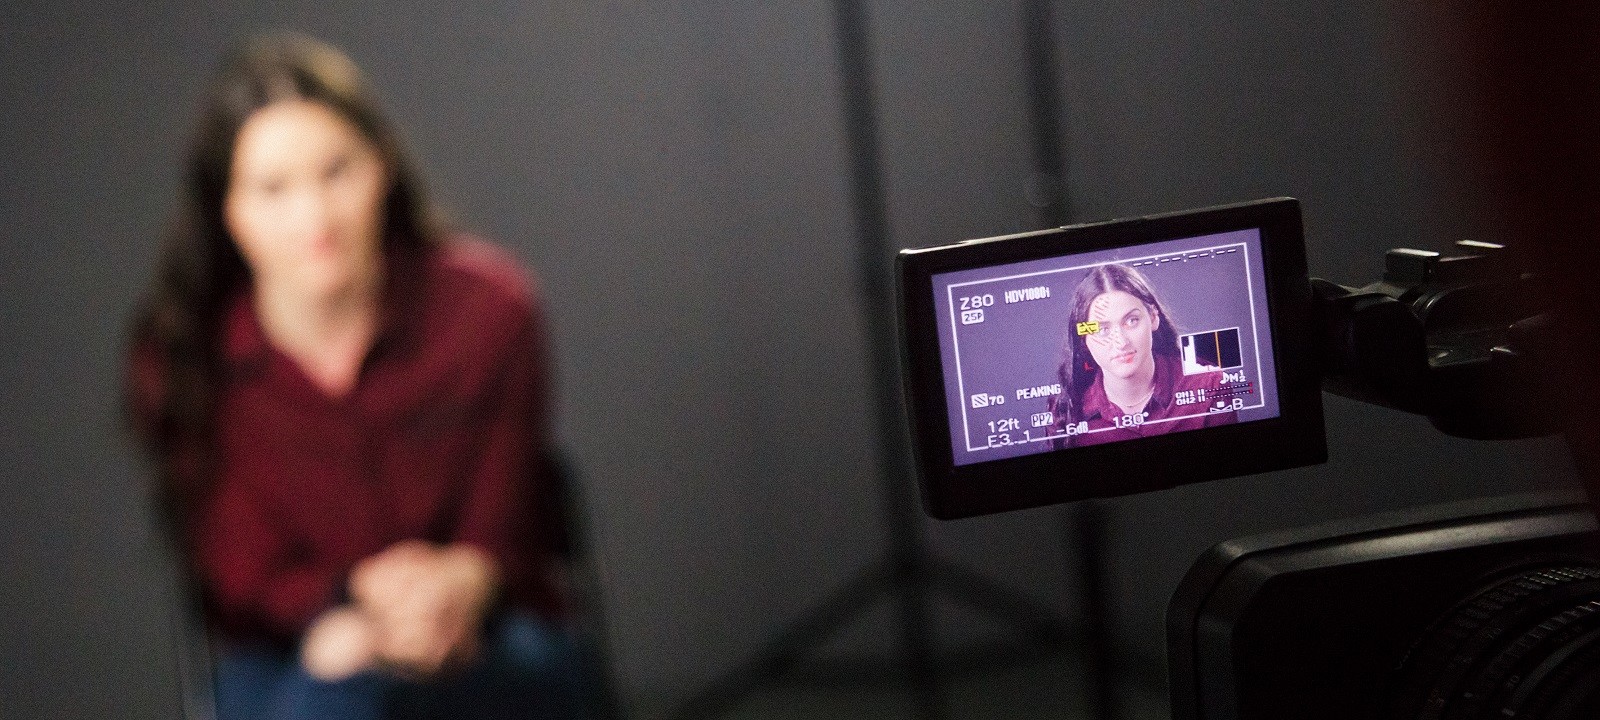
Filming your self-tape
When filming your self-tape, consider the following:
- Your eye line should be close to the camera as they want to see both sides of your face.
- If you’re using a reader, make sure they aren’t too loud.
- Don’t go too far from the camera (unless you have an external microphone).
- Frame in a mid-close shot unless requested otherwise (mid-close shot means seeing from your chest to the top of your head).
- Sit or stand depending on what feels comfortable/appropriate for the scene.
- Don’t do too many takes – If you can’t get it in three takes, take some time to pause and then then try again
It’s easier said than done but don’t overthink it!
Sending your Self-Tape
Converting the video file
Quicktime is useful for converting the file to a universal standard. Just import the file and export it as MP4 using Apple TV settings. On the other hand, if you wish to edit the clip before exporting it, use MPEG Streamclip (free to download). You’ll just need to select ‘in’ and ‘out’ points (‘I’ and ‘O’ on a keyboard) and then export it as MP4 using Apple TV settings.
Sending it to the casting director
Label the clips with your name first, then add the project title and scene.
Don’t send too many takes, unless requested. If you send more than one take, make sure they’re sufficiently different. You can send it via www.wetransfer.com or a downloadable Vimeo private link. We have more information about editing and sharing your self-tape with casting directors if you need more help.
Sending it via Spotlight Self-Tape
Spotlight Self-Tape is the seamless way to manage, upload and share self-tapes, all from your Spotlight account. If you are represented, your agent will email the self-tape request to you. Within it, you’ll find all of the information needed to record your video. Once you’ve recorded your tape and are ready to upload it, check out our handy step-by-step guide for represented performers. If you are self-represented, casting professionals will send requests directly to you via Spotlight. Learn more with our guide for self-represented performers.
More self-tape tips
We have lots more articles if you’re looking for more in-depth tips including how to improve your self-tape, self-taping for beginners, casting directors’ self-tape tips and even a podcast episode dedicated to self-taping on your phone.