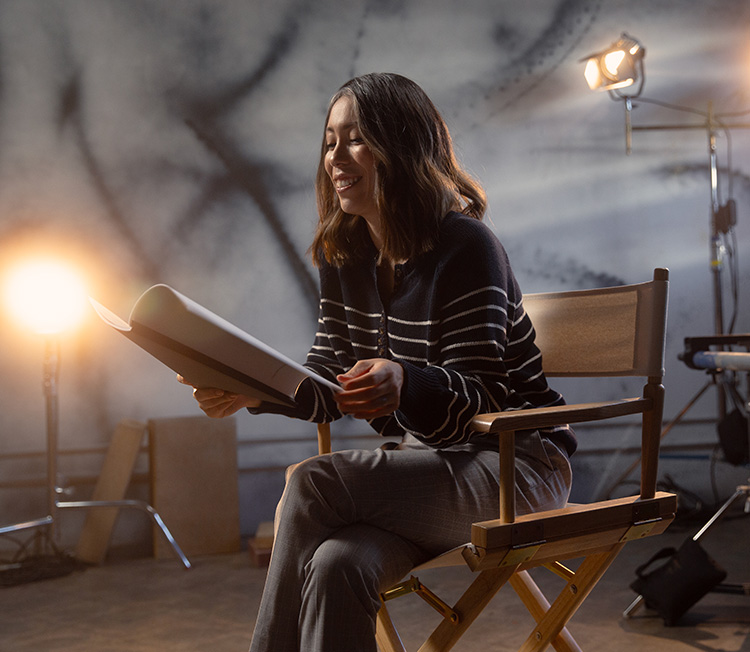
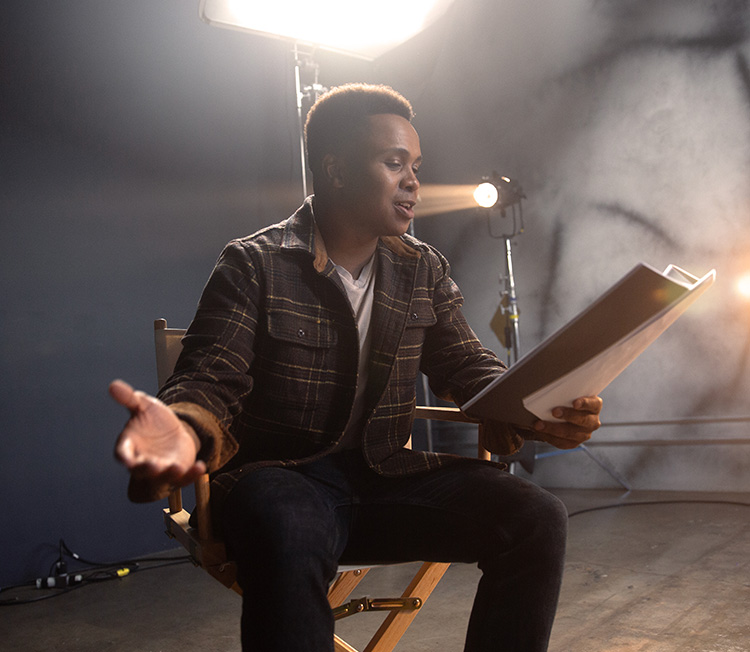
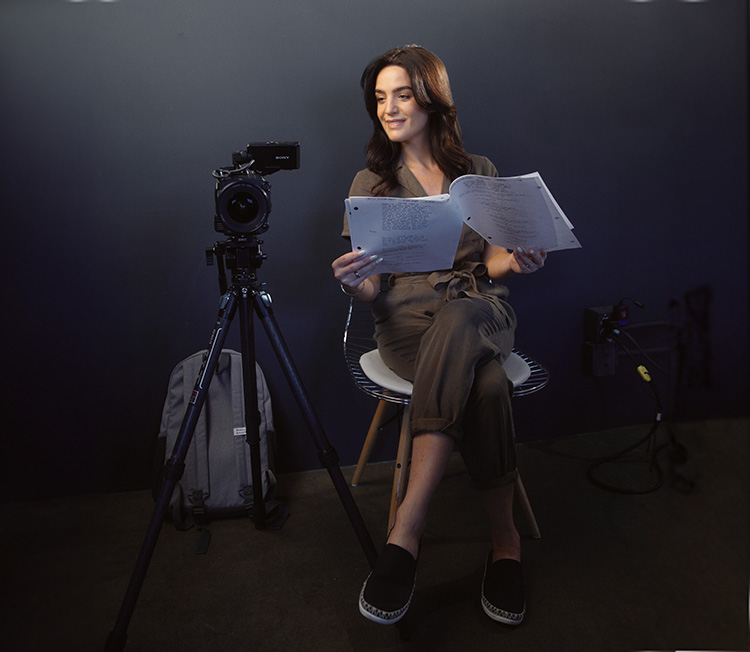
A guide from Spotlight’s Audio Visual Specialist, Nicholas Peel, on the basics of preparing and filming young performer self-tapes.
The idea of self-taping can be a little intimidating if a young performer has never done one before or if they’re more used to traditional casting room auditions. But fear not! We’ve put together this practical guide to arm you with all the information needed to ace a self-tape. It is important to note that online safety for children is always paramount, so an adult should be present in the space when filming a self-tape or attending an online audition if the young performer is under 18.
Setting up a Space
The convenience of self-taping is that you can film at home, with no travelling required. Set up a self-tape area in front of a nice neutral background. Grey is ideal as it works for all skin tones and doesn’t affect the colour on camera – we use Dulux grey steel 1 paint in our Spotlight studios.
If you don’t have a grey wall, it’s a good idea to purchase a cheap grey flat bedsheet and tape it to the wall. Make sure it’s flat so the creases don’t create shadows in the background of your shot.
Avoid using coloured backgrounds as this could affect the white balance of your camera and make your skin tones look odd
Make sure there’s no posters, windows or clutter in the background that will distract from the performer.
Preparing the Performance
If you’ve been sent instructions for the self-tape, then make sure you read them thoroughly so you know what is expected. Make a note if a certain accent is needed or if there are any other details that need to be included in the self-tape.
Rehearsing
It’s important for the performer to know the scene that they’re doing so it’s worth doing a quick rehearsal either on or off-camera.
The emotional journey is more important than getting the lines word for word – the person watching is unlikely to be cross-referencing with the script.
Clothing and Props
Performers should dress in neutral clothing that’s appropriate to the character. It’s not necessary to rent a costume as this can be distracting.
Only use props that are essential to the performance. For example, if the performer is sitting down and they’re drinking a cup of tea or something like that, they can have a sip of water just to break up the action but don’t fuss too much about finding the right props.
You should always film in landscape, which is the same shape as a cinema and TV screen
Cameras for Self-taping
To film a self-tape, you can use one of the following:
- A smartphone. Modern smartphones have good quality video. Ensure that you have enough storage space on your device and that you know how to transfer the video file.
- A DSLR or mirrorless camera that has video functionality. The video quality is outstanding and you can easily take the SD card and insert into your computer to transfer the self-tape file. The other bonus is that it’s harder to film in portrait on a DSLR.
- A video camera or camcorder. If you want to buy yourself a video camera for self-taping, you don’t have to get anything fancy but go for a recognisable brand like Canon, Sony, JVC, Apple, Panasonic etc. Avoid buying a brand you don’t know because we have seen examples of people recording a self-tape on a video camera only to find that when they sent the footage to someone else, they couldn’t play it back unless they paid for it.
Regardless of what you use to film, you should ensure the equipment does the following:
- Records in MP4 or M4V format. MOV or AVCHD is also OK but they may need to be converted.
- Uses H.264 or H.265 codec. These are the most common video codecs and will ensure the casting director will be able to watch the self-tape. H.264 is the native codec for smartphones.
- Has a microphone input – it’s useful to have an external microphone to get good sound.
It’s important to always read the information the agent sends you as there’s no ‘golden rule’
Filming an Ident or Slate
An ident or slate is an introduction at the start of a self-tape and is a chance to show the performer’s personality. Typically a performer should state their name, the character they’re auditioning for, their agent (if they have one), a couple of profile shots and possibly a show of hands to the camera. They can make a good first impression by being professional, confident and friendly.
If a full-body shot is required, you should film a wide shot of the performer and then walk forward to get a close-up. If you can’t get the performer fully in a landscape shot, tilt the camera up and down to show their full body. You can use the zoom function if you’d prefer but it can be tricky.
For performers with disabilities, if there is a requirement to show a wheelchair, you can do this when you film the ident in wide-shot. Unless otherwise instructed, you can film the rest of the self-tape in midshot, with a focus on the performer’s head and shoulders.
It’s important to always read the information the agent sends you as there’s no ‘golden rule’ for idents and each casting director does things differently. For example, they may want a photograph instead of a video slate.
Unless requested otherwise, you should frame a mid-close shot. That means filling the screen with the performer’s shoulder to the top of the head
Practical Filming Tips
Remember that whilst it’s a good idea to make the self-tape as professional as possible, the casting director is not expecting it to look like a big-budget production. Try not to overthink the filming of a self-tape and don’t do too many takes. If you can’t get it in three takes, take some time out and try again later.
Always Film in Landscape
You should always film in landscape, which is the same shape as a cinema and TV screen. Filming in portrait actually causes issues for casting director’s trying to upload your file to the site they use to process self-tapes.
Make Sure the Camera is Eye-Level
The casting director will want to see both sides of the performer’s face so make sure the camera is at eye-level so it looks neutral. You can get a tripod for your camera or phone on Amazon for around £15.
The performer shouldn’t look directly down the camera lens unless they’ve been directed to do so. Their eye-line should be dropped just slightly to one side of the camera lens.
If the performer has multiple eye-lines, don’t complicate it too much by getting them looking about whilst trying to work out who’s speaking and at which eye-line. Instead, have one eye line to one side of the camera, then another on the other side of the camera.
Unless the instructions state the casting director wants to see a bit of physicality then don’t worry too much about trying to capture action in the scene i.e. if the scene description says the character is running through a park, they don’t necessarily need to see your child running into shot. Casting directors are often more interested in the face and the performance of the performer.
Framing the Shot
Unless requested otherwise, you should frame a mid-close shot. That means filling the screen with the performer’s shoulder to the top of the head.
When doing the filming, the performer should either be sitting down for the whole recording or be standing up. Whatever feels comfortable. As you’re filming mid-close, it can look really messy if a performer goes from standing to sitting or vice versa.
Reading
Ideally, someone should read in the lines of the other roles for the performer. Whoever is reading in should sit just next to the camera or perhaps a couple of feet back, so they’re not too loud on the recording.
Scripts
If there’s not enough time for the performer to learn the lines, a script can be held to the side of the shot, as long as it’s not covering up their face. If you have any questions about whether this would be OK for the casting director then you can ask your agent.
Filming More Than One Scene
If the performer has more than one scene, do a separate video recording for each one.
By reading this guide we hope that you can see self-taping as an exciting way to audition, especially for those who would usually have to travel to castings.
We have lots more information and advice about self-taping, including some helpful videos and a podcast episode. If you have any questions that we haven’t answered then you can get in touch with us at questions@spotlight.com.

