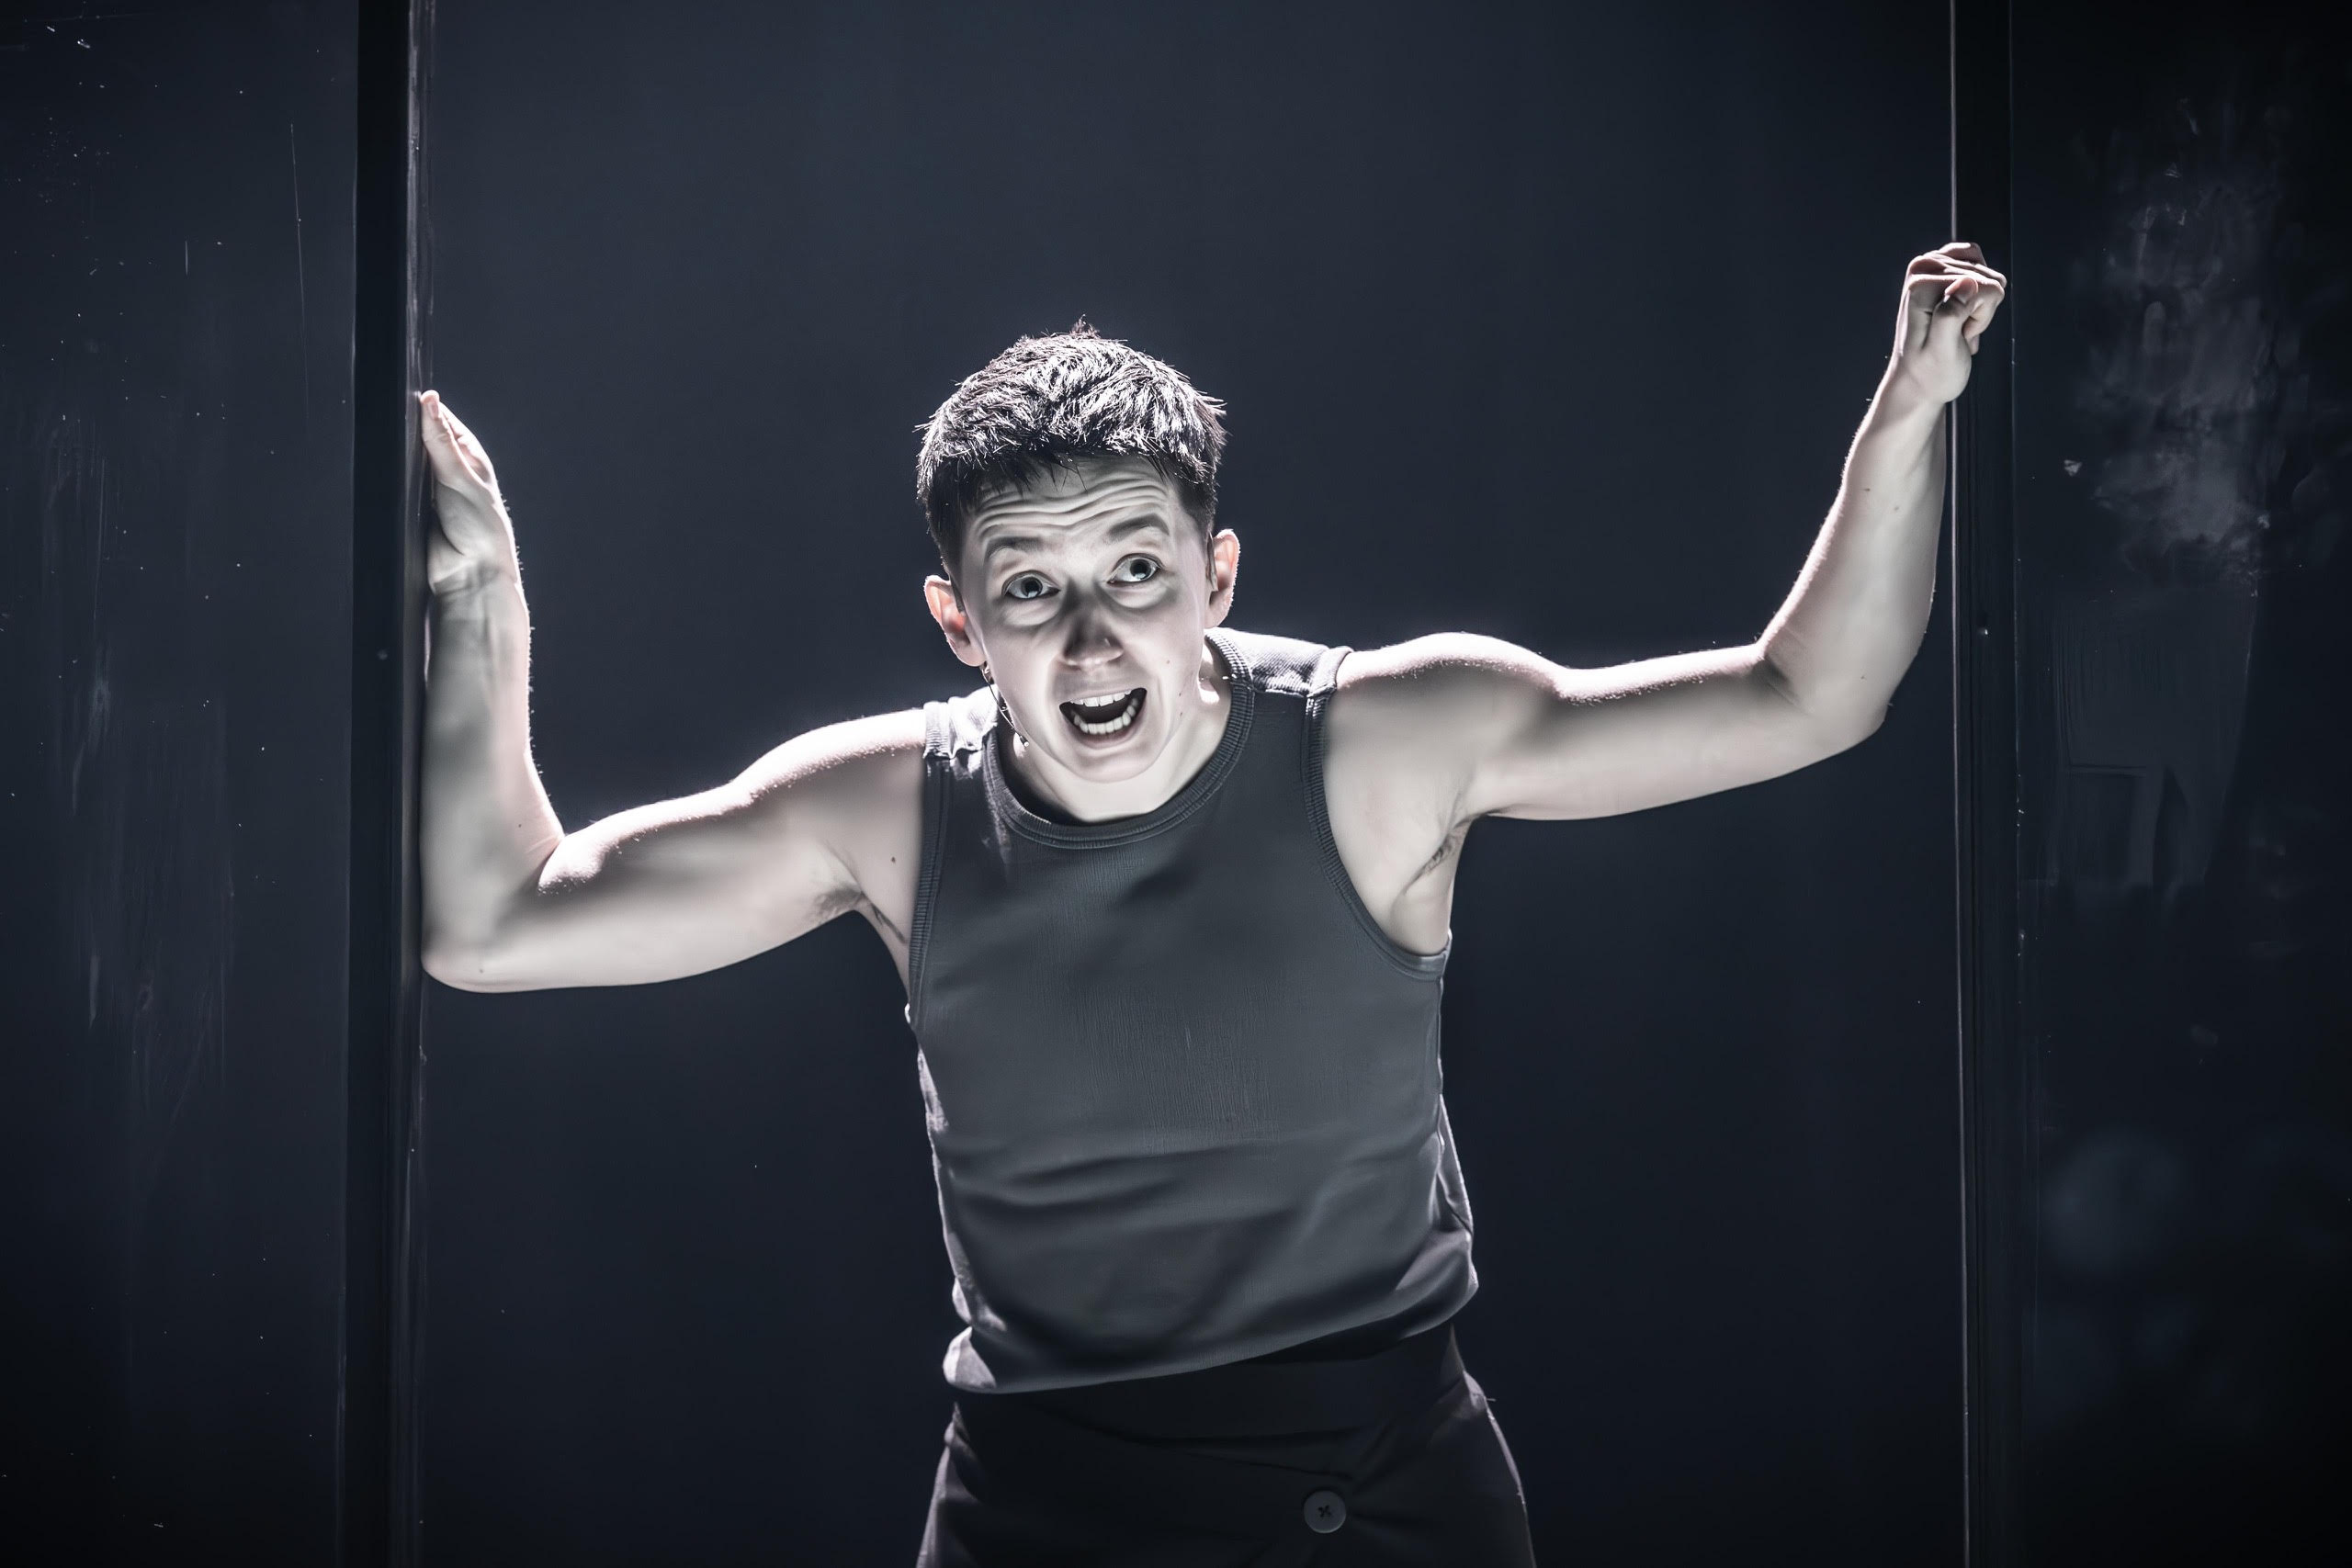
Master lighting, settings, and backdrops with our expert guide to fixing common self-tape issues.
In all our years of providing industry advice and helping performers improve their Spotlight profiles, we’ve seen a lot of self-tapes, and we’ve noticed a few recurring issues actors are having while filming.
This guide demystifies the technical side of self-taping, helping you eliminate distracting graininess, exposure issues, and ‘banding’ lines. By following these industry-standard fixes for lighting and camera settings, you’ll ensure your technical quality matches your performance – making it easier for casting directors to focus on your talent rather than your file size.
Why is My Self-Tape so Grainy?
Lighting Issues
Visual noise or graininess usually happens because there isn’t enough light in the location where you’re filming. The less light there is, the more the camera has to electronically boost the signal, and this is what causes the visual noise. It may not be noticeable watching the footage back on the small screen of your phone or camera, but it can be obvious when watching it on a larger screen.
To fix this, it’s best to introduce more light to the scene. We recommend finding somewhere brighter to film, like in front of a window on a sunny day, or if you want to invest in some lights, softboxes are a good option.
File Compression
Alternatively, the graininess could be due to attaching the video files directly to an email using your phone. By doing this, your phone will usually automatically compress the video file to reduce the file size.
You can get around this by using WeTransfer to send the original file. The website works on most browsers – even ones on mobile devices – and there’s also an app that you can download for iOS and Android.
Why Are My Self-Tape Files so Big?
High Quality
When people shoot in 4K or Ultra High Definition (UHD), it has up to four times the resolution of regular HD, and therefore the files are much bigger.
It’s best to shoot in HD instead. The cameras used to shoot the live-action sequences of James Cameron’s Avatar were HD, and if HD is good enough for Cameron, it’s going to be good enough for your self-tape.
If you introduce more light to the scene, you can shoot at a lower resolution without the graininess and your files will be smaller.
High Frames per Second
Sometimes people shoot at 60 frames per second but shooting your self-tape at 24, 25, or even 30 frames per second will reduce your file size. The majority of films are shot at 24 or 25 frames per second, so there isn’t a need to shoot any higher.
If you’re still having difficulty with files that are too large you can convert them online using an online video converter, or by following the instructions in this article.
Why is My Face Overexposed?
Your Background is Too Dark
When using the automatic exposure settings on a camera, it will take an overall sample of the image and adjust to give an even exposure over the entire image. If your background is considerably darker than your skin tone, it will let more light in to get this even exposure, and could overexpose your face.
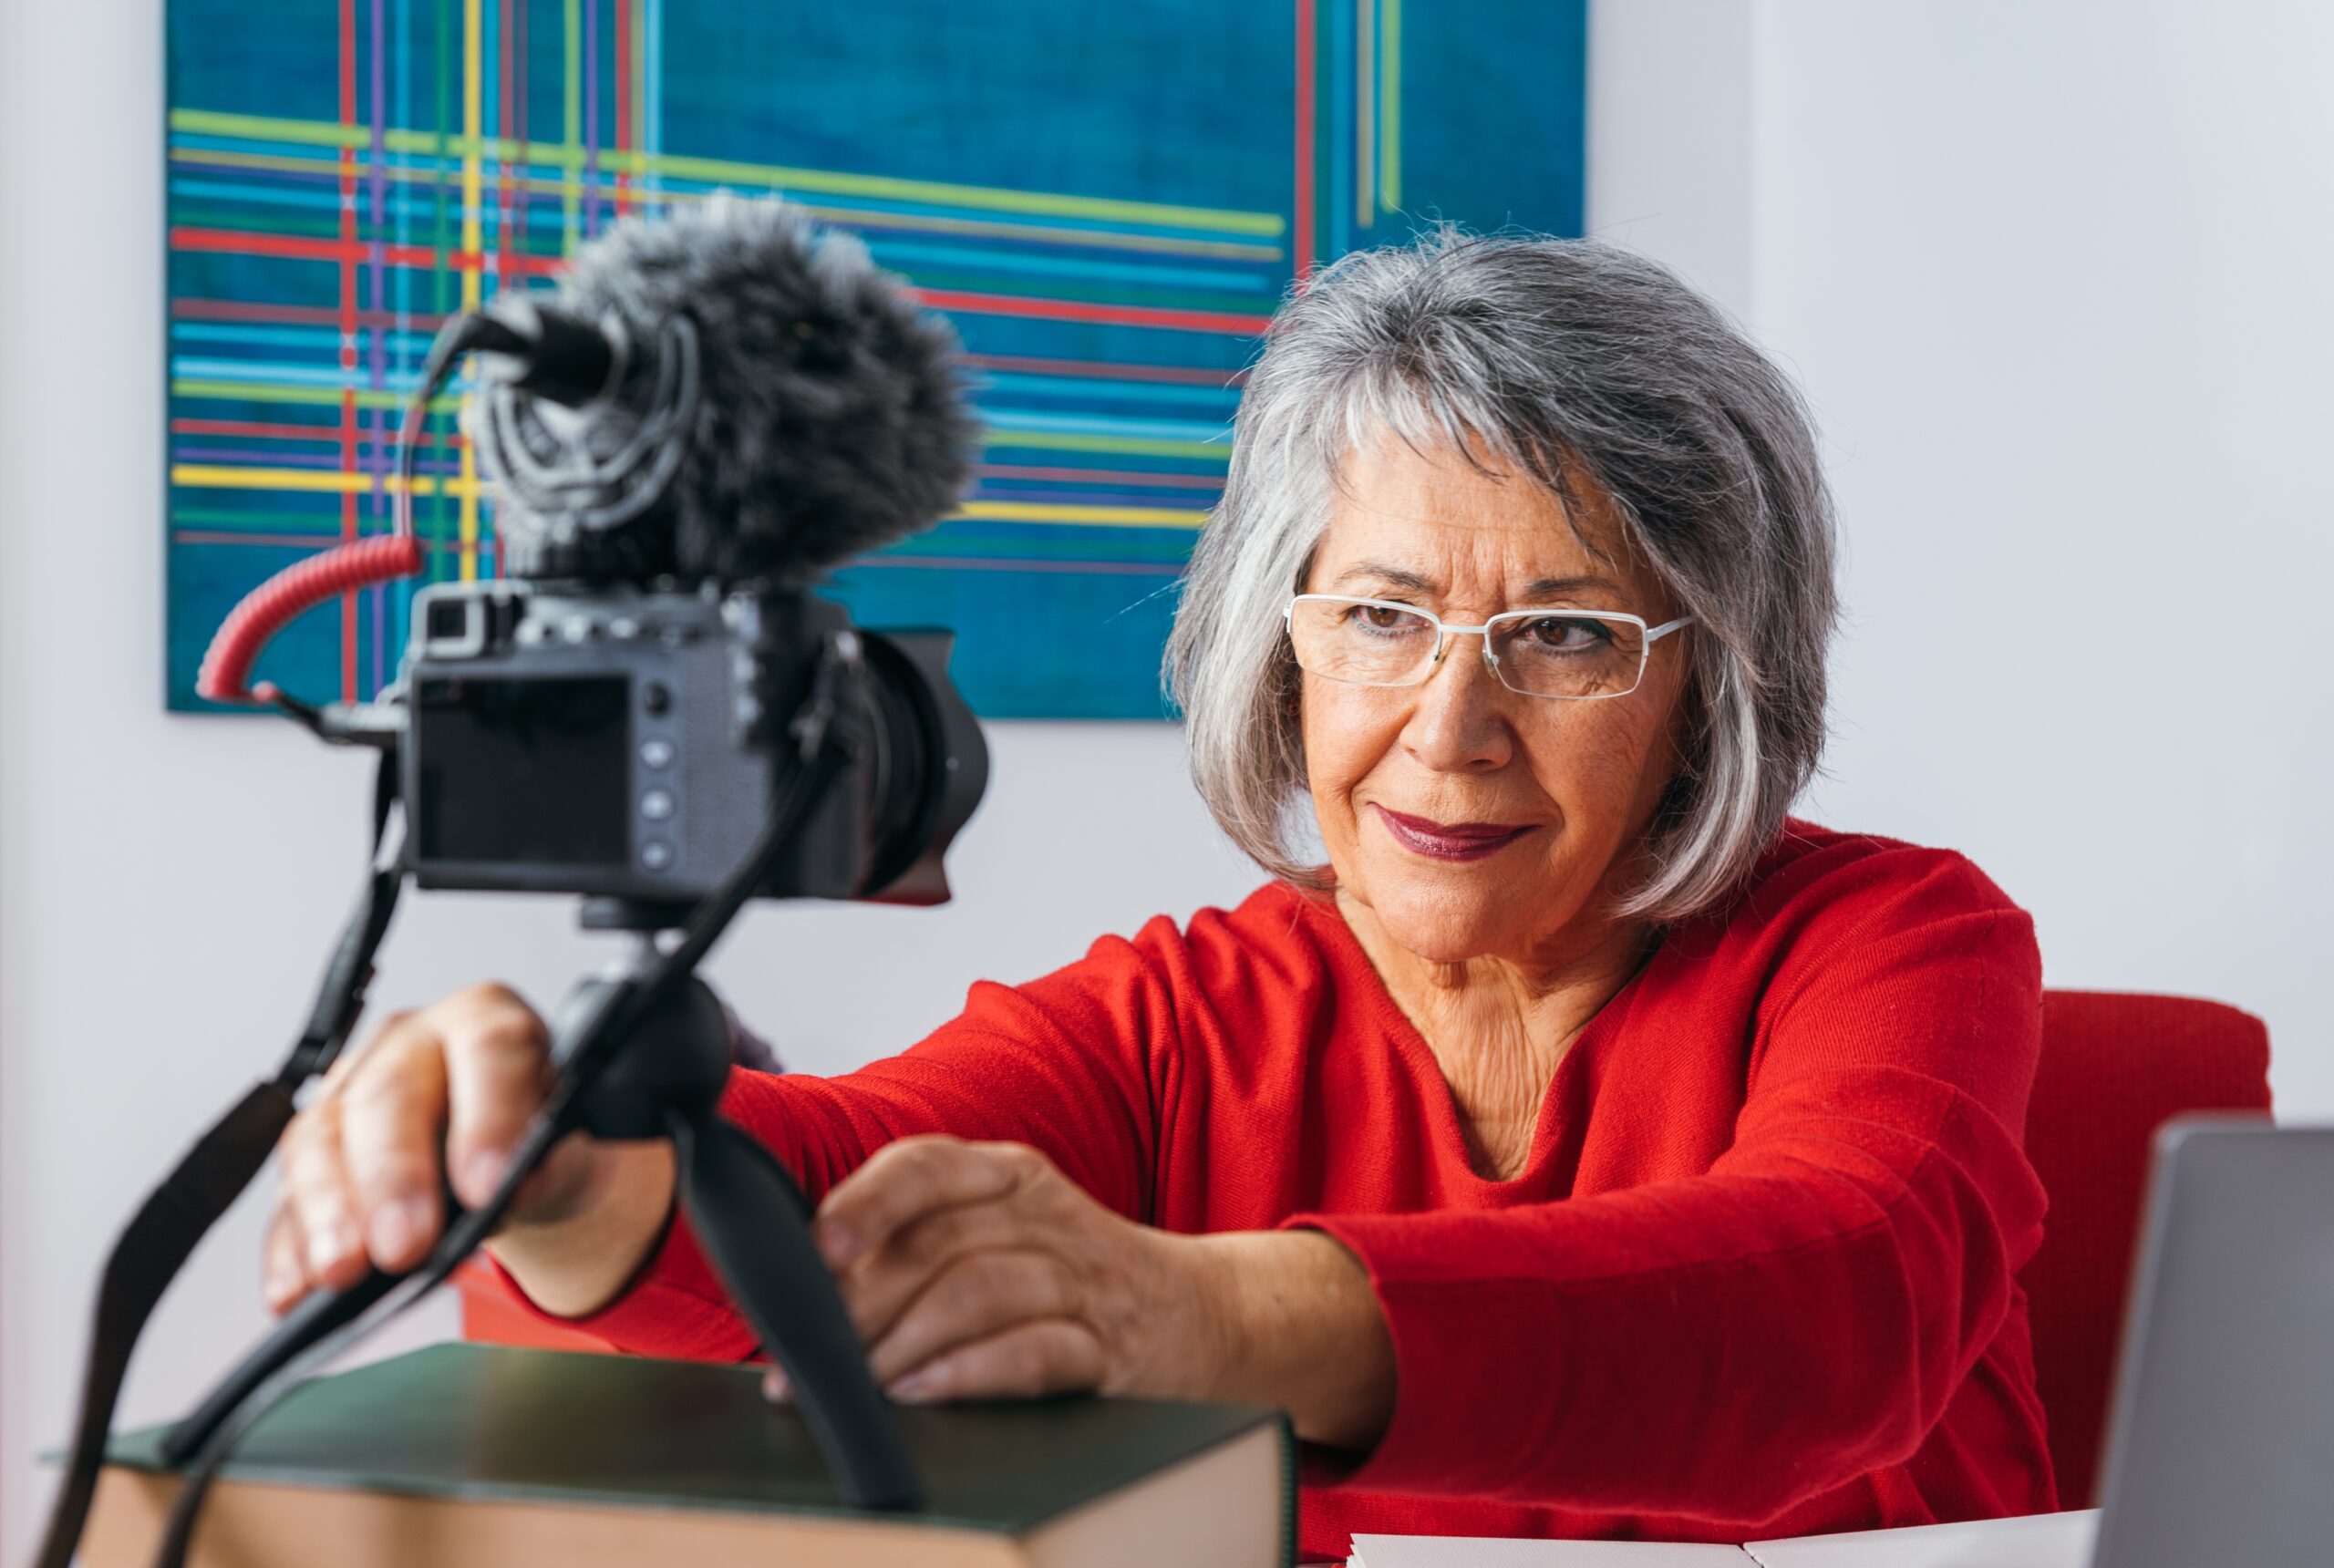
You can fix this by trying to light the entire image evenly. Place a neutral backdrop – like a grey bedsheet – behind you. Ensure it’s lit with the same light and sit closer to the backdrop.
We’ve found that a neutral 18% grey backdrop helps set the automatic exposure to the perfect level, whatever your skin tone. If you’re planning to re-decorate at any point in the future, Dulux Grey Steel 1 is the paint colour that’s the closest match.
Why is My Face Underexposed?
Your Background is Too Bright
This will often be because there is something in the background that is brighter than your skin tone – a window or a light source, and the automatic exposure feature on your camera will try to compensate for it by darkening the image.
You can fix this by trying to light the entire image evenly. Place a neutral backdrop – like a grey bedsheet – behind you. Ensure it’s lit with the same light and sit closer to the backdrop.
As we said, a neutral 18% grey backdrop helps set the automatic exposure to the perfect level, whatever your skin tone.
There are also ways to manually adjust the exposure on your phone by using certain apps. You can find lots of blogs discussing the options for various phones through Google.
Adjusting the exposure on your DSLR or mirrorless camera can be done easily – read your camera’s manual for more information about how to do this.
Why Are My Skin Tones a Funny Colour?
Your Background is Coloured
The automatic white balance (AWB) of the camera will try to compensate for a coloured background by adding the opposite colour to the image. This can make your skin tones look wrong.
You can fix this by self-taping in front of a non-coloured background – which is why we recommend a neutral grey backdrop.
Why Are There Funny Lines Slowly Making Their Way Down the Screen?
Different Electrical Frequency
This is called banding and is usually caused when you use certain lights on a different electrical frequency to that of your camera.
In the UK our power network is an alternating current at 50Hz. The electrical signal alternates 50 times a second. In certain types of light bulbs, this causes them to dip in brightness 50 times a second which is unnoticeable to the human eye. This is why UK Television shows were historically shot and broadcast in 25 frames, (or 50 interlaced fields) per second – so that the dip in the lighting would be in sync with the shutter in the camera, and on the television with the alternating current.
In the USA the electrical system runs at 60Hz (actually 59.976 hz, but we won’t be picky) which is why they shoot at 24 or 30 frames per second, to synchronise with their alternating current.
The way to fix banding if you’re in the UK is to change the frame rate on your camera to 25 frames per second (FPS).
If you’re in a 60Hz electrical system, change it to 30 or 24 FPS or, if you can, change the shutter speed to a value that’s divisible by the frequency of the electrical system of your country.
Why Are My Files Taking so Long to Upload?
Poor Internet Connection
Often when using WiFi, the upload speeds can be directly related to the strength of the signal, and the number of different WiFi networks in the area. Interference from other electrical items in your house may also affect the performance of your WiFi.
Try moving your computer closer to your router, or if you can, attach your computer directly to the router using an ethernet cable. This should speed things up considerably.
If you’re using a mobile phone, you could try using 4G if you have enough availability on your data allowance. If it doesn’t, then you may just have to be patient.
General Self-Taping Advice:
- Practice self-taping in your spare time.
We mean everything, from setting up lights (if you need them) getting the camera and the framing right, performing, and even transferring the footage to make sure it’s easy to receive. The process can be a bit tricky to get right in certain environments, so it’s best to learn how to do it and work through any problems you may have when you don’t have any time constraints. It will also allow you to focus on your performance as opposed to the setup.
- Don’t leave filming your self-tape to the last minute.
Try to film as soon as you reasonably can to give yourself time to fix any problems. We know sometimes it can be hard, especially if you’ve been given a very short amount of time to prepare, but often the casting director will be eager to see tapes from the moment the first one is submitted – partly to picture you in the role, but also to check that they’ve given good instructions.
The last few minutes before the deadline is when a lot of the tapes will be sent through so if you send them in earlier, you’ll have a better chance of standing out and will make the casting director (or their assistant’s) job an awful lot easier.
- Make sure you read the instructions you’ve been sent.
Sometimes these can be easy to miss, so it’s worth double-checking everything before you start filming. A small error, like filming in portrait when they’ve asked for it to be filmed in landscape, can cause quite a lot of additional work for the casting director or their assistant. You want to make it as easy as possible for them to view your tape. During the self-tape castings they’re going to be incredibly busy – so giving them more work to do isn’t ideal!
If you’re experiencing any other problems that we haven’t covered, take a look at our website for more self-taping tips and advice.